
Sunday, September 30, 2012
Quilted Crystal Cuff
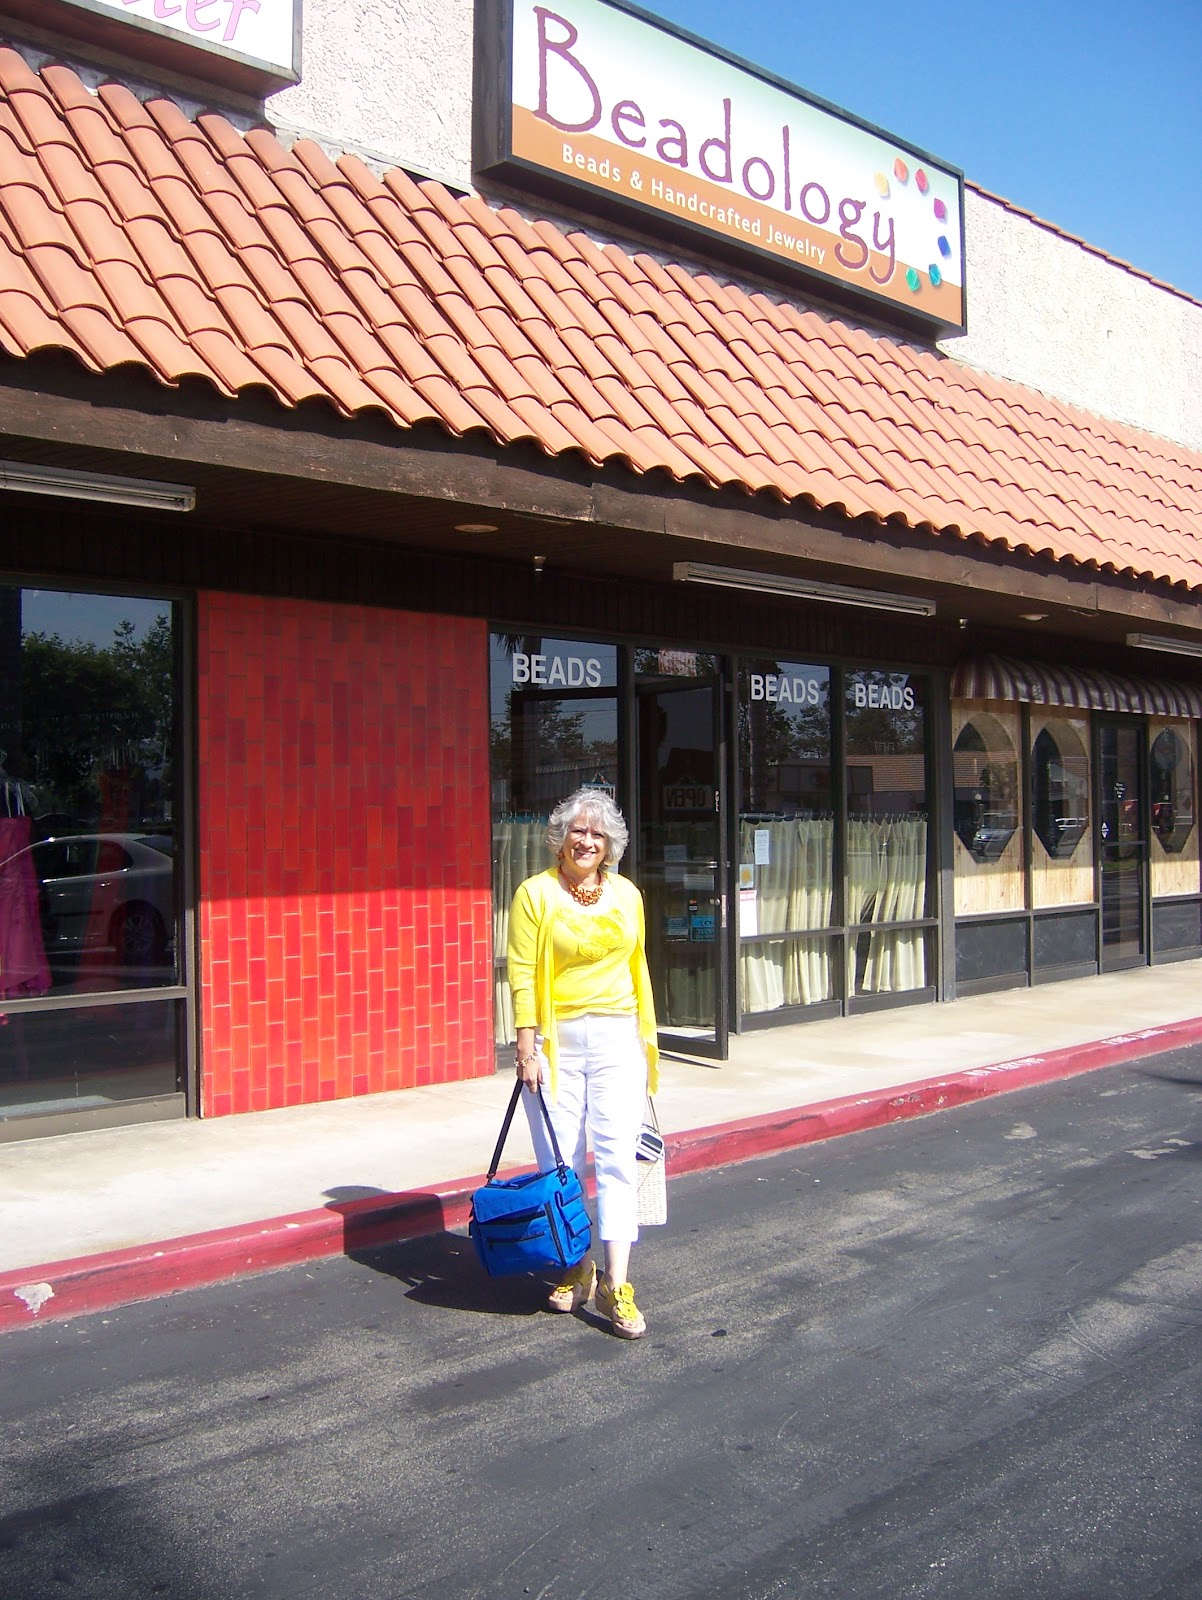
Wednesday, August 29, 2012
Shoulder Dusters

I did create a fabulous pattern for these which was my coupe de grace` of the day, it was a stroke of luck figuring out how to 'export' the pattern from Bead Tool, click the 'aspect ratio' button and resize the pattern so it looks like actual Bugle Beads. Opening up a whole new world in the pattern design department!
Everyone I have shown them to just ohhs and ahhs...but then the comical look happens; who is going to wear these? Well, most Rock Stars I would like to think and a couple of models...Heidi, want a cute pair of earrings to wear on Project Runway???
Soon a smaller pair for the Real Women amounst us!!!
Sunday, August 12, 2012
Leather Wrap Arounds

The latest of my wrap arounds...this one created with the duo hole beads by Preciosa Ornela. A beautiful glass with an iris coating. A five wrap, I think was made at 26" or is that a four wrap??? Well, maybe it was 32" for a five wrap...I think I've made up a formula that works for determining the amount needed for a specific wrist measurement.
Take actual wrist measurement for wrap #1, for each consecutive wrap add 1/4" more for ease. Then finish with three knots, forming two buttonholes for adjustment.
For example, a four wrap for me would be; 6.5" + 6.75" + 7" +7.25 = 27.5"
This way you could make one for a friend and know it would fit properly!

This front side view of a wrap being sent out this week to a very special gal...The multi colored 4mm stones are River Rock Agate which blend beautifully with the smooth cornered Thai silver beads we have at Monica's Quilt and Beads Creations! The leather a gorgeous tan natural color in a 1.5mm round leather.

Here is a full back view of the bracelet, I started adding Silver beads every third or fifth set of beads. added some light to the piece. The cute Lizard button was a gift from one of my Bead Chick friends!
Saturday, July 21, 2012
Blue Diamond Peyote Bracelet

A new version of my odd count peyote series, this one a direct result of designing a smaller odd count peyote beaded bead. A beautiful shade of denim blue-green, Delica Bead #325 is the basis for this layout. It matches beautifully with the beaded key presented in an earlier post.
Pattern was created on the Bead Tool 4.4 or 4.7 which ever is the lastest update. I find working with the product extremely easy and very managable. I transported the design from the beaded bead for the key into the new program of the bracelet...or rather made a revision and hit 'save as' in order to create a new pattern. I will also be making this in a Victorian color way for the Holidays...It is July after all and what better time to start on holidays gifts and projects? trust me, time flies...
The bracelet clasp is a rather simple one, however it lent itself perfectly to the antique brass tones needed to complement this bracelet. I purposely have shown you the back side of the clasp. Note how the piece aligns next to the bar clasp and the loops of the clasp sit inside the beadwork. The stitch was more of a running backstitch catching the clasp at the same time as the stitching was passing through the loops.
Looks like my friend Joanne, will be making yet one more bracelet for the summer! This one a perfect fit for all those casual days of tee shirts and jeans.
Happy Beading on a Summer Day!
Thursday, July 12, 2012
My own personal Bead/Quilt shop run, July 2012

Redlands Sewing Center, State Street
First, a stop at an all time favorite shop in Redlands, my friend Tami just got her new Viking serger here! Showed the gals in the shop my newest pattern,'It's too Darn Hot' and talked about how great it would be for a quick sewing class!
A Rolling Stone on Citrus Avenue
And just around the corner, a fabulous bead and button store with tons of hidden gems everywhere you look! They have a new way to buy an interesting collection of great stones too, multiples of beads on a single strand.

The Painted Lady Quilt Shop on Tennesse Ave.
A darling shop getting a well deserved facelift under creative new ownership. Lots of hard to find Civil War goods plus some of the newest and latest colorful textiles by the likes of Riley Blake and others. I found something here to add to my Halloween collection!

The Garden of Beadin' in Upland, CA
Just one of the most innovative Bead shops in the Inland Empire, whenever we are close, I want to stop. Since I had a specific project on the board I wanted to stay on target and just add components for that piece...ya, right! I did find more great items from Tierra Cast and some large holed beads to fit on the ndebele bracelet I am creating. More on that later...

Upland Sew & Vac, Second Street, Upland, CA
And literally right down the street, another really great sewing machine center, this one with lots and lots of cute fabric and a mini long arm quilting machine I've had my eyes on for a long time. They a very good clients and liked the new pattern I had shown them...Your store of choice for Bernina sewing machines!
Brea Bead Works, just west of 57 Fwy on Imperial Hwy.
And a trip down the freeway won't be complete without a stop at BBW...newly remodeled and chock full of fantastic beads. Here I found pink dichroic rings from Paula Radke, they might find themselves hanging on a necklace...must be soon, I need something pink to wear!
Beadology, on Golden West in Huntington Beach
The main reason for this trip, a class with famed Judy Walker, for a multistrand Ndebele bracelet. It seems unlikely I know, but to take a class with a well known teacher at a fraction of the cost at a convention, such as Bead&Button, is hard to pass up! Plus, I know any class will enhance what one might know and will advance your skill level exponentially.
Many thanks to my Dear Hubby, John, the driving force (literally, ha!) behind my creativity and progression down this career path. This little road trip was his idea and I'm glad he was willing to go the distance. It was a great trip topped off with nice lunch in Old Downtown Fullerton, then a little stroll through some vintage stores and an art gallery or two.
Wednesday, July 4, 2012
Vintage Keys with Beaded Beads

Well, one is a Vintage Key, my skate key from way back when and the other two are a beautiful set in antique brass. This month's challenge to create a Beaded Bead for the shop was facing a writer's block, (or the equivalent for a beader!) until I spied these new keys on display. One thing led to another and this peyote beaded bead accent was made for our Bead of the Month program.
It was easy to create the beaded bead pattern with my favorite beading program, Bead Tool 4.5. It still is a time intensive process, involving the testing of the pattern, redrafting and final critique but it is well worth the process.
This pattern has a short bead, five Delica beads wide by eighteen rows for the little key and the diamond pattern which is twenty six Delica beads wide by twenty two rows long that fits the long key. All is worked in Odd Count Peyote with a two needle start. There are several ways to turn at the odd count side, my personal favorite is the traditional figure eight type of turn around. However, it is much faster to work the turn with the chain stitch that loops around the previous rows' bead or by using two needles to complete the odd turn.
I hung all on pre made chain and connected Round Swarovski crystals, the color is Indicolite, as well as 6mm bicone #5328 crystals from the various chain links. The crystals were easier to move when I attached them to small jump rings...this was discovered after moving items a few times. It sure helped that I have a full size mannequin on which to hang these pieces. That would be a most useful addition to your workspace.
Check out our Bead of the Month program at Monica's Quilt and Bead Creations...the pattern is free when you buy the supplies! We sure have fun at our Monday night Sit-n-Bead sessions!!!
See the current newsletter online today.
Friday, June 29, 2012
Fandango in Pink

The most fun is choosing the colors...these to match a blouse with a bit of embrodiery, so it was easy to make the color scheme work.
Having a great time with some new ideas usiign Cellini Spiral technique.
Thursday, June 21, 2012
Fandango Earrings

What happens when a spiral goes spiraling out of control? Well, you can always make another and call the both of them a pair of earrings!
Which is exactly what happened here. A simple task, to make a Cellini spiral Ring, became so much more than that when an experiment with bead size and count went a little oversized. The extra large bead sizes caused the ring to lay a little bit flatter than I had hoped, but my Bead Chicks (my beading network) encouraged me to carry on and figure out how to use them anyway. The next challenge was to recall what steps I had taken to make them as they were and replicate the same again...only this time in mirror image since I wanted to have them hang as a pair.
Well, it helps to take good notes while you are working...that could be lesson #1. A few photos along the way would have been lesson #2. So now to make yet another pair or two..perhaps in green and blues and another in blacks and white with a pop of red! Anything could be used as the drops, a larger bead count to start the first row would create an even longer pair. This pair included several color of Delica beads, a couple colors, including that color of the year Tangerine Tango, in size 11 seed beads, one size 8 hex seed bead, one size 6 seed bead and of course the cute Vintage Czech Glass Yellow Drops!
We'll see what happens real soon! 'Til then I've been wearing these and getting loads of compliments. A great way to use up those left over bits from other projects or a bead soup, too!
I'll be wearing them at Monica's Quilt and Bead tomorrow, so stop by and take a look! Ohhh, I see a new class on the horizon...
Sunday, April 22, 2012
Milady Pendant Part 2
 Consider the dilemna..too many colors choices! The pearls here are surrounded with gold #471 size 15 seed beads. Might be the way to go since I don't seems to have the more Old World color of gold that would match the Delica Beads in a better way. Those were the 24k gold iris.
And below I have another set of pearls trimmed in a darker marroon seed bead. Why do I have so many pearls finished? The pattern called for eight so I bezelled all eight, repeating the same steps each time so it became faster and faster to bead them...but I later notice it only needs four bezelled...oh well, more for the ring to be made later!
 Oh, what a lesson learned here! Notice the Rivoli colors...These have the Mystic finish and I had a thought about the colors of each when I first laid them out...but I didn't really check in differnt light until I started to take photos. I tell my students in class to take a second look at a project if your inner voice is telling you something is not quite right....but in my haste I plowed onward and now will have to remake the fourth stone. No worries about the extra, it will become the center of a cleverly constructed ring...more on that later.
 The bezel technique for the 8mm pearl shown front and back. From Sabine Lippert's new book, Beaded Fantasies. A great compliation of most of her most dramatic creations, the patterns are nicely written, however her patterns for sale online are by far the best I have ever seen. Extremely detailed regarding each and every move needed for a complete unit.
 A quick setup of several components placed together. We have just finished watching the Three Muskateers of 2012...Milady is portrayed by Mila Jonavich, wickedly good. Great costumes! This piece certainly reminds me of that era.
Now, I really have to get back to work...then I will return to this piece and complete it soon!
Milady Pendant Part 1
 The process...steps in the creation of Sabine Lippert's Milady Pendant. From her new Master Lark Series book, Beaded Fantasties. Here with the four pearls needed for the piece.
 What would the possibility be if I used all eight pearls? I think a bit too large to actually wear, usless you were Milady, of course!
 The bezeling of the 14mm crystal, a nice way to finish the surface and still show alot of the face of the stone. When I approach a new pattern with several seed beads, I find it helps to use as many separate colors as possible. That way you can find the bead as it is referred to in the pattern. Another lessoon learned, wait until daylight to take the photos..or get up and go into the photo lab! just in a hurry...
 Bezeling the pearls was easy...A quick tip I could share about this step is to move from pearl to pearl and complete each one before moving on to the next row or step. The repetitive action helps you move through the process faster than if you have done one at a time, production style if you will. Keep several needles tamed by placing into a plump pin cushion. Most moves would be considered peyote stitch and netting technique.
 The first layout of beads and Rivolis, a pleasing assortment...just wish I would have caught that one Rivoli that is a slightly different color..is it the coating? the stone itself?
Twin Denim Wrap
 These denim colored "twin" beads are gorgeous when used with peyote stitch. A new product from Preciosa Ornela, they come in so many delectable colors. A precious glass from the Czech company that has been around longer than Swarovski...nice, smooth double holes on each side of an oval shaped bead. Sized somewhere between an 11 and a 8 seed bead since both seem to tuck up easily next to the open space left at the end of a row.
Free patterns are readily available online at the Facebook page for Preciosa Ornela.
This bracelet was created using simple even count peyote stitch. Made twice as long as needed so it could become a wrap bracelet...well, just because anything worth making is worth doing twice, right??? Plus, it makes that piece so much more modern and of the current times. An easy change of the beads created the diamond shaped pattern, this way I was able to use two small tubes of different colors for the whole bracelet. Like the picot stitch on the edge? When you are ready to turn in to the next row of peyote, pick up the three beads needed for the picot at the same time you make the turn. Here three (3) size 11 seed beads were used, another possibility would be a size 11, a 3.4mm drop and a size 11 seed bead. A view of that one later in the week!
Saturday, April 21, 2012
Two Simple Twin Rings
 Oh look, thinking in twos already! One ring for my daughter, one for my DIL, both pregnant with our first grandbabies!
Simple right angle weave or even easier cross-weave technique is the method of construction for these little beauties. Fast to finish, a great way to use up left over crystals and put a little BLING at your fingertips. When using so many Swarovski bicone crystals, I highly reccomend Fireline or Wildfire beading threads for a bit more lasting power. Notice how the colors are accented with a brightly colored metallic spacer. I wish they were gold, but nowadays Vermeil will just have to do! Adding a spot of gold or Silver to your piece gives it a bit of life...keeps the eye moving around. The biege color is Sand Opal, a special coating, I think, because no one seems to know where to find them again (great)...The other in a pretty green called KhakiAB.
Wednesday, April 4, 2012
Beaded Loom Bracelet
 For the longest time I have loved Loom work, just not all those pesky threads left over to weave back into the work. I knew there had to be a better way to begin a project and eliminate the extra threads. This project should be called an invented loom bracelet...the students in my class have to be very, very patient to set this up properly...but so far all have had happy conclusions!
A hand-made Thai Silver clasp begins and ends the piece and the central design has Swarovski crystals. Lots of pretty turquoise rondelles and heishi add to the very southwestern look. If you look closely you will see some very nice Tila beads, they are surounded by sets of three size 11 rocaille (round) seed beads.
Sunday, April 1, 2012
Springtime is in the Air
 Okay, even tho' the wind is blowing across the desert, colors are popping out everywhere. On cactus, blooms are just waiting for one more day of heat to bring forth all their glory. Our little cacti are showing signs of pink and fuchsia colored blooms so I thought a bracelet reflecting those colors would be perfect.
This was certainly an easy one to make, simple netting stitch and a few 3mm bicone swarovski crystals turned a springtime color palette into a beautiful finished product. The buttons on the ends are actually semi-precious stones, 10mm rounds of blue lace agate and chalcedony. A loop of bead offset into the body of the beadwork finishes the closure.
Saturday, March 31, 2012
Sew Cal Gal blog, voting
http://sewcalgal.blogspot.com/p/golden-quilter-awards.html
go to this blog to find out the latest and greatest about the quilt sewing world. Voting ends today for some of the best of the best!
I know it seems out of place here on my bead blog...but most who know me know sewing is my first love!
Vote for the Quilt Album as the best new software innovation..Thanks!
Monday, March 26, 2012
Bead Journal Project, January
 Well, here they are in all their glory! Don't they look sweet? The one on the left represents my daughter, Dawn...the one on the right my daughter in law, Alina. Subtle changes in whites to silvers, more surface finishes than color. Lots of bead soup mix used for this project.
Only a few different stitches used in the creation of this piece. Mostly backstitch and stop stitch to hold the beads with holes in place upright. All down on Stiffy Stuff, then ttrimmed close to show the shape.
These pieces might be mounted into a frame later, so the edges are waiting until that deciding factor. Perhaps one will be set into a frame and the other afixed onto an Ultrasuede backing with a bail attachment to be worn on a necklace later.
Bead Journal Project in progress, January
 This is January's work in progress, photo taken on the road. Yes, I do get lots of beadwork competed while John is driving. This clearly shows the layout and design of the little pregnant "goddesses" that have become the vehicle for my beaded project. The outline is printed on a new water soluable product called Tranfer-Eze. Best used for stitching projects, I thought it might give my pieces a bit of uniformity...at least at the start...We'll see where they end !!!
 The two Goddesses represent my two sweet gals going through their pregnancies almost side by side. my daughter is expecting in July, then my daughter-in-law is expecting in September! We are calling them our twin cousins! So, mirror imagery came to mind first, then the white light for the "light of my life" or the "light of the universe" that these two babies represent. These will be our two first grand-babies! The cabochons are actually hand made glass by BeadStarr, the flash of rainbow color are the result of dichroic glass. The bead embroidery is laid onto Stiffy Stuff, next pieces will be in color since I have gotten packs of Nicoloe Campanella's beadbacking. Lots of white beads from my stash, mixed into a bead soup of various of shades and surface finishes were used for this piece. More to come soon! This is great fun...just finding time for it all is the challenge.
Monday, March 5, 2012
Olivine Pearl Wraparound
 First of all, for any of you Latin buffs out there...would you like a challenge? Translate the wording on the copper button; tandem patientia vincit...together we conquer, umm, calmly? no that doesn't seem right...what do you think?
Okay, now down to business! The wraparound was something I made in an evening, amazing how fast it went together. First the inspriation came from the glass pearls, nice look and smooth finish with smooth holes, too. Each pearl section was about 8" of beads, separated by a grouping of chinese rondells and then a group of 4mm fire polish czech. It wraps four times and feels very nice. It's such a pretty color of green, goes with lots of the wardrobe.
Well, this is probably the first of several in this pattern. I know a grey and black one are waiting to be made, as well as a red and silver one...Now , where'd I put that silver button???
Sunday, March 4, 2012
Old World Netted Cuff
 This is one is for the record books! I think it has taken me five years to complete the finished product. How about a big cheer...one more UFO finished. Hey, it's a great accomplishment for such an ADD beader such as myself....oooh, look another shiny object over there!!!! I'm a crow for sure!
 Well, the good news...These beautiful Oval Swarovki Crystals, #4127, are very popular right now.
Alot of bling for your wrist! The capture for this stone, in Fuchsia, is a little unique, first a right angle bezel , then an added peyote row...Next add a bit of Bicone crystal trim and a few picots edges with some very tiny 15/0'one cuts...which are tinier than the Japanese 15's...Of course, the seedbeads are hard to come by, vintage true cuts (somewhere between an 11 and 10) which I purchased at Monica's Quilt and Bead Creations about 7 years ago... I have a collection of some colors, it was easier to find them 5 - 10 years ago.
I'm most proud of the connection of bezel to netting...the focal piece is not just set on top of the bracelet...it's all built as one piece! really..how can that be???? well, stay tuned, secrets to be revealed in due time. Classes, of course, are the easiest way to get inside my head...HA-HA!
Oooh, wouldn't this be a pretty ring!!!! and a BIG one, Too! Hey, we'll see about that.
Monday, February 27, 2012
Welcome Spring
 Another good reason to welcome Spring..lots of color! I had fun while working on this piece! Netting and more netting til you've got it done...This was a fun study in color shifting/blending, moving from one color to the next in a subtle way.
Spring is coming
 Made a cute little St. Petersburg Lace bracelet in the new spring colors. Add a little orange to almost anything to make it pop! The best color in a while, Tangerine Tango...or as my dear hubby would say...orange is the new black.
Saturday, February 25, 2012
Button, button...
 Who else has a big button collection? You know it's big when the buttons sit in jars and vintage canisters and boxes...Are mounted on cards over thirty years old and are made of quality materials like real glass and lead crystal and porcelain and bakelite!
 Here is one idea, from fellow artist and button lover, Starr...Make a simple crossweave bracelet with several buttons...start with one larger button for the clasp and add crystals or other vintage beads on the side. so easy and so fast! A great way to use buttons as gifts for friends and family. Perhaps some of the collection will find its' way into new hearts and hands.
Dragonfly Pendant
 Oh the wonderful world of buttons! This beautiful button was found by chance at a vintage button trunk show...much like the one at Monica's Quilt and Bead Creations on til Sunday, Feb 26th.
How different this piece became after I changed out a large bead and inserted this vintage button. In a class taken with Jaime Cloud Eakins, one of the foremost authors of bead embroidery, I created this small pendant, a feature in her newest book, Dimensional Bead Embroidery.
It was a fun piece to make, in part, I think, of the use of those bugle beads. Boy, did they cover the area quickly! After I had finished, I found the button so then the challenge on how to change it since the backing was complete. One of the reasons I make these pieces with lots of new threads is so I can change something later. So glad I had done the same here! I knew the other old bead and surrounding bead trim were each on their own thread line. If I cut one section away it wasn't going to interfere with the neighboring beads. The biggest threat was the backing, but since that was in Ultrasuede I knew it was going to be easier than leather to stitch through. Very happily I set about to change my old bead into a new button and I think it improved the piece exponentially!
Come to Monica's and see tables full of wonderful Vintage Buttons and Beads this weekend!
Get inspired by a cute button bracelet made by Starr and stay for a free "Make & Take"!!!
Wednesday, February 1, 2012
B&B Bangle with a catch


Charming photography, don't you think? My honey is doing a great job, wait 'til I find him a great camera, then he'll have a good time!
This bracelet, constructed with 3mm Swarovski Pearls, Tila Beads and 4mm bicones has a circular bead path and tension is key here to help form the shape. From the January issue of bead & button, this piece caught my eye, but alas, I don't wear bangles well. So, my change-up or "catch" is the magnetic barrel at each end, which I covered in cirular peyote.
This particular magnet is simple in shape and has a deep hole in which to sink a head pin, crimp or stop bead. A circle of sixteen (16) Delica Beads forms the even count base for the build up. A set of twelve rows covered the whole magnet and hides it fairly well. Now I'm on the look out for a cube shape that might mimic the outside shape of the bracelet.
Sunday, January 8, 2012
How sweet it is...
 It is just so sweet when a plan comes together. A wonderful friend has a very clever beau, he ordered a matching necklace to complement the jewelry she had worn at her daughter's wedding last year. I had also created some of the jewelry for the bridal party. Such a great idea!
This beautiful piece combines the simple crossweave technique with the more complex triangle right angle weave. All created with Fireline and each crystal is buffered with a small silver size 15 seed bead. Some of the Swarovski crystal colors include Light Amethyst, Amethyst, Purple Velvet, Indigo, Tanzanite2XAB, Blue Metallic 2XAB, Cyclamen Opal AB, Cyclamen Satin, Fuchsia2XAB and Vitrail Medium...whew! Over 200 crystals make up this piece, which sits just about the collarbone. It looks gorgeous on her! I may have to make a black and silver version for myself, time permitting, ummmm, would that be sometime in July?
Monday, January 2, 2012
Chained Melody
 Purple 1.5mm leather in Satin Hamilton Finish Sliver Rolo style Chain with a three loop clasp.
 Pretty in pink 2mm leather in Gunmetal Black Rolo style Chain with three loop slide.
 Coral 1.5mm leather in Antique Copper Rolo style Chain with a two snaps and extra beads.
Look at what fun a few feet of chain and leather can lead to! What could be simpler than weaving thru the loops??? This bracelet makes a fun, funky statement in a very modern way. Of course, a few tips always help, such as using your macrame board to steady the chain and knowing which end is next in the weaving process. Keep it steady and straight as she goes and you'll be finished in no time at all...Keep your eye open for an extra wide cuff in an industry ad in your favorite bead magazine, I think they used twelve rows of chain for the cuff...how'd they do that??? I'm off to figure that mystery out...more later when the answer comes!
Subscribe to:
Posts (Atom)